
Getting Started
Curious how to begin?
Here is a checklist of everything you will need in order to get your order from start to finish.If you just want to jump right into the application, click the button below.
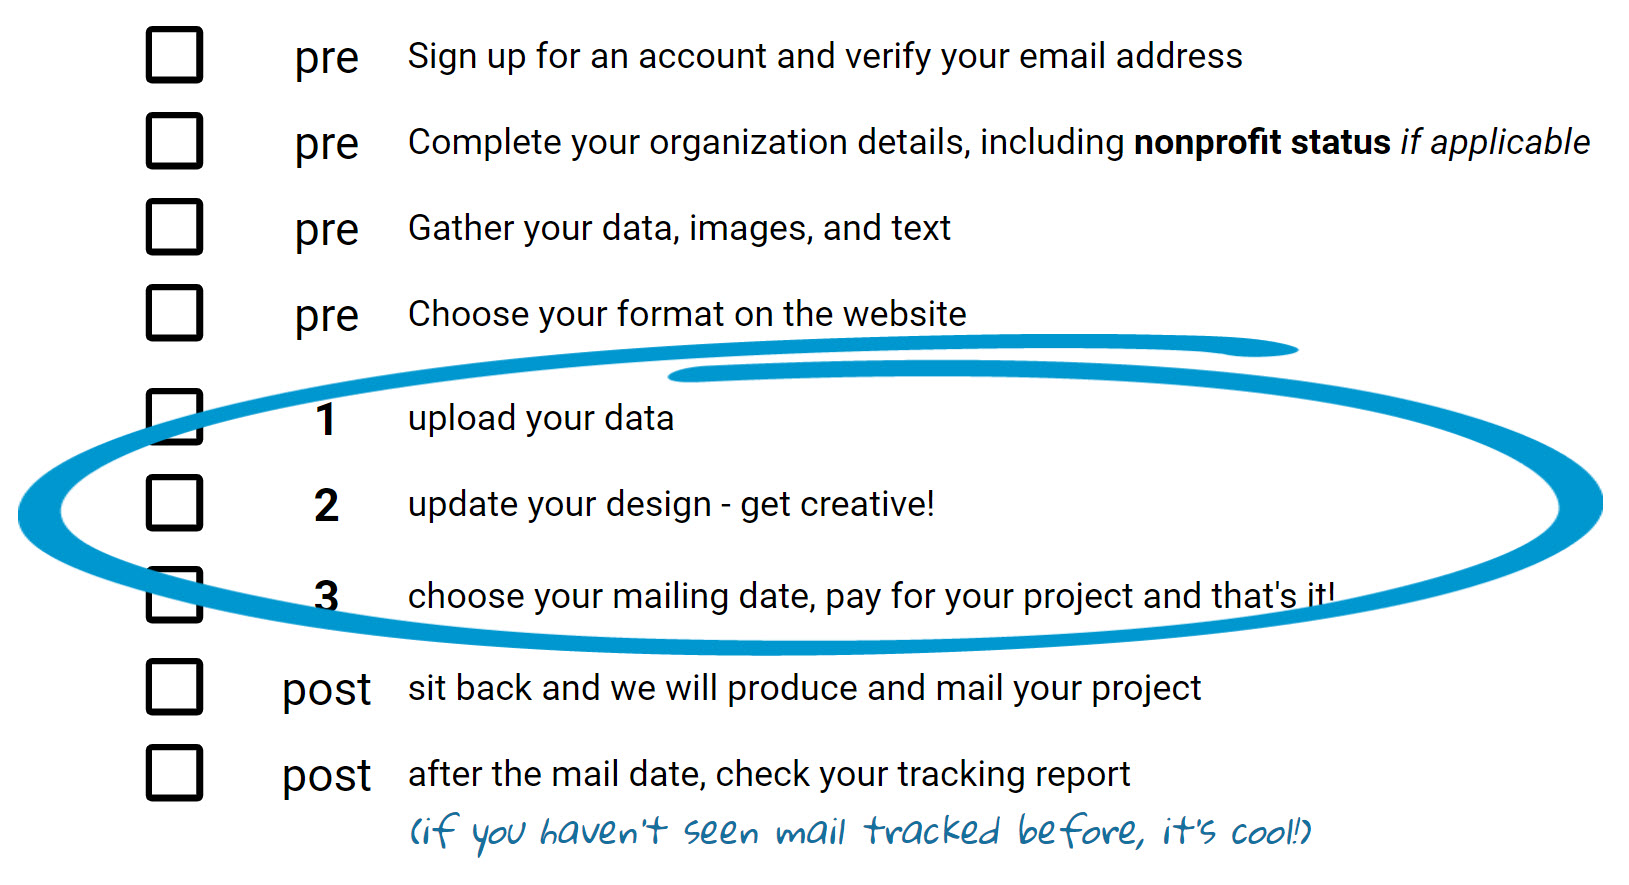
Sign up for an account and verify your email address.
Complete your organization details, including nonprofit status if applicable
Gather your data, images, and text
Choose your format from the NovaMail Formats
Upload your data
Update your design
Choose your mailing date and pay for your project
Sit back, and we will produce and mail your project
After the mail date, check your tracking report
(If you haven't seen mail tracked before, it's cool!)
PRO TIP
Spend some time up-front to prepare and you will save time in the long run. Keep your assets organized so you can reuse them on each project.
Want the big picture?
Below is a synopsis of the main steps involved in creating your mailing. A little setup and preparation will go a long way, and then each mailing is as simple as 1,2,3.
Step 1:
Upload your data file. These are the names and addresses to which you will address your mail. Click here to see the help articles about uploading your data file.
Step 2:
Update your creative. Upload your logos and images. Edit your text. Make sure everything is just the way you want it. Click here to see all the support articles on updating creative.
Step 3:
Select the date you prefer to mail your project. Place your order and pay for the mailable records. That's it! We'll take your order, produce it with care, and get it in the mail. Click here to see all the support articles on the checkout process.